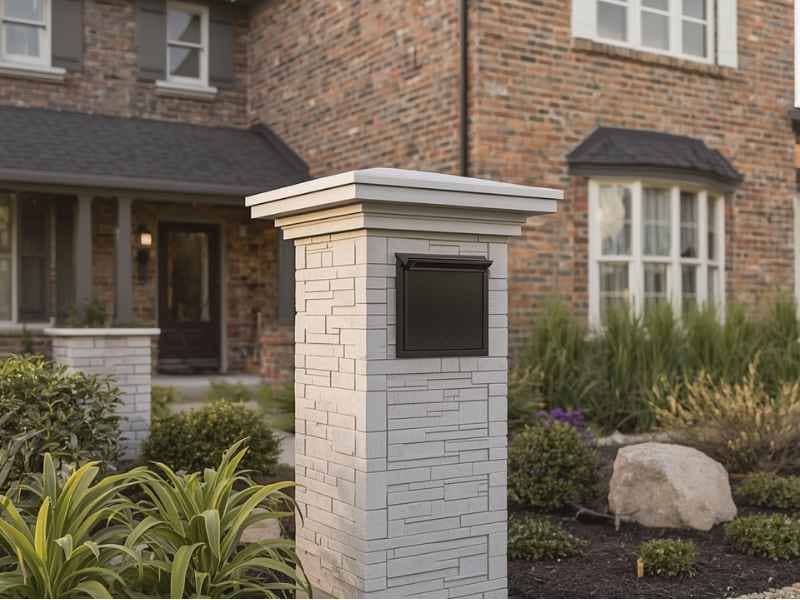
Good brick repair should fix damage without making the repaired area stand out. The goal is to restore the wall so the new work blends with the old brick and mortar. When the right materials and methods are used, the repair can look natural and help the masonry stay strong for many years.
This is not always easy. Brick changes over time as it is exposed to rain, sun, dirt, and changing weather. Mortar can also fade, crack, or wear away. A skilled mason must look at the full wall before choosing replacement materials.
Matching brick and mortar takes care, patience, and experience. A repair that looks simple may require several steps to create a clean and even result.
Why Matching Existing Brick Is Essential for Seamless Repairs
Brick comes in many sizes, colors, shapes, and textures. Even two bricks made by the same company may not look exactly alike. Older bricks can be even harder to match because time changes its surface and color.
A mason first studies the brick around the damaged area. They look at the size, face texture, color range, and edge shape. They may also check how the brick reacts to light and moisture.
The new brick does not always need to be an exact match. In many cases, a close blend works better. Brick walls often have natural color changes, so the goal is to choose a replacement brick that fits within the same range.
Reclaimed brick may help with older buildings. This brick comes from past projects and may have the worn look needed to match existing masonry. New bricks can also work well if the right size, color, and finish are available.
A poor match can create a clear patch that draws attention. A careful match helps the repair blend into the wall and keeps the original look of the property.
How Masonry Professionals Match Mortar Color and Texture
Mortar makes up a large part of the wall’s appearance. Even when the brick match is good, the repair may still stand out if the mortar is the wrong color or shape.
Masons study the existing mortar before mixing new material. They check the color, grain, joint width, and joint style. Some mortar joints are smooth and flat. Others may be curved, recessed, or slightly rough.
The type of sand used in the mix can change the final color and texture. Cement, lime, and pigments can also affect the result. Masons may prepare small test samples before starting the full repair.
Fresh mortar often looks darker when it is wet. It becomes lighter as it dries and cures. This is why the final match cannot always be judged right away.
The strength of the mortar also matters. Mortar that is too hard may place stress on older bricks. Mortars that are too weak may fail too soon. A professional chooses a mix that supports the wall and works well with the existing materials.
Repair Techniques That Preserve the Original Look of Brickwork
Different types of damage require different repair methods. A mason should remove only the material that has failed whenever possible. This helps protect the original brickwork and reduces the size of the repair area.
Common repair methods include:
- Replacing only cracked or broken bricks
- Removing and replacing weak mortar joints
- Matching the original joint shape and finish
- Cleaning the repaired area with gentle methods
- Blending replacement bricks across a small area when needed
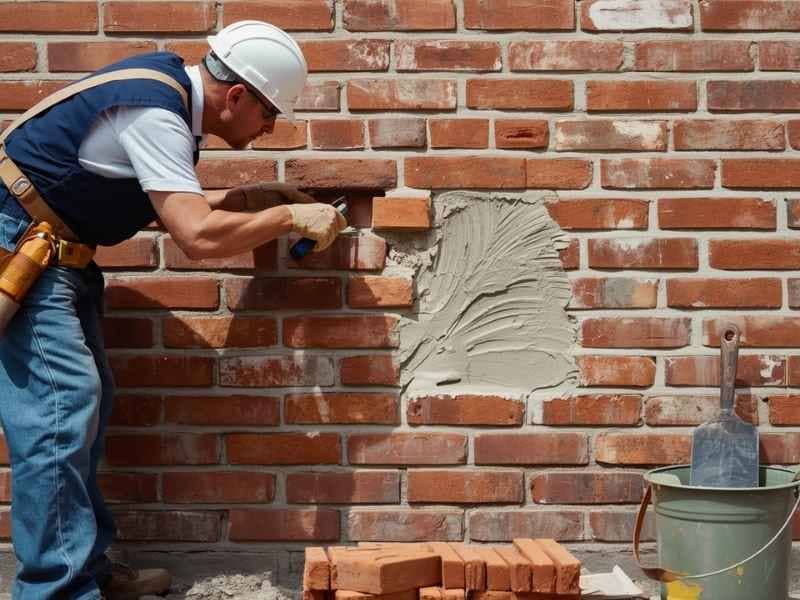
Selective brick replacement works well when only a few bricks have failed. The mason removes the damaged units without harming the bricks around them. New bricks are then placed using matching mortar.
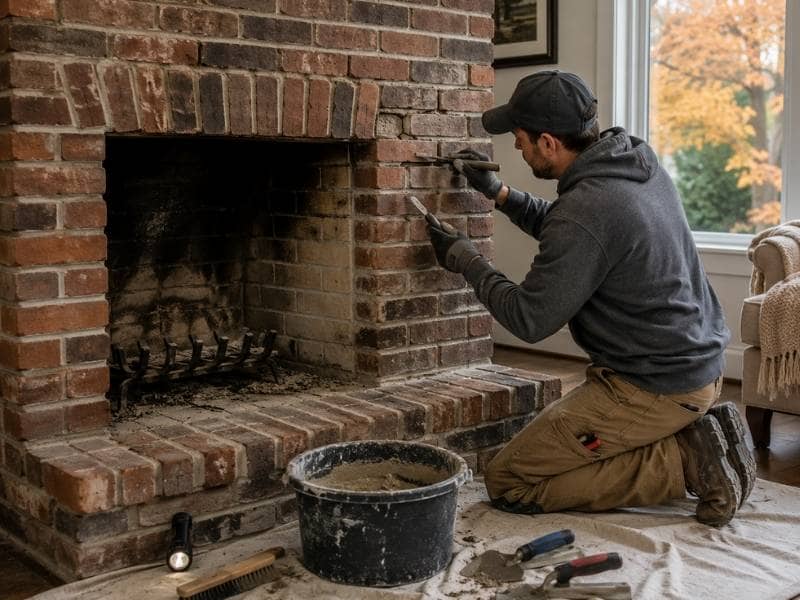
Tuckpointing repairs worn or cracked mortar joints. The old mortar is removed to a proper depth before new mortar is added. Simply placing new mortar over weak joints may create a short-term patch that fails again.
The final joint finish is also important. The mason shapes the new mortar to match the surrounding joints. This small detail can make a major difference in how well the repair blends.
Common Causes of Brick Damage That Require Professional Repair
Brick is strong, but several problems can damage it over time.
Moisture is one of the main causes. Water can enter cracks, gaps, or weak mortar joints. In cold weather, trapped water may freeze and expand. This can cause the brick face to crack, flake, or break apart.
Settlement can also lead to damage. Buildings may shift slightly as soil moves or settles. This can create stair-step cracks in mortar joints or larger cracks through the brick.
Impact damage may come from vehicles, tools, falling tree limbs, or lawn equipment. Even one damaged brick can allow water to reach the wall.
Old mortar can also wear away after years of exposure. Once joints become deep or loose, the wall may lose protection from water and weather.
Early repair often costs less than waiting. Small cracks and weak joints can spread if the cause is not fixed.
Maintaining Curb Appeal After Brick Repair Is Complete
Once the repair is done, basic care can help the masonry keep a clean and even look.
Property owners should check brick walls from time to time. Look for new cracks, loose mortar, stains, or areas that stay wet. Catching small problems early can help prevent larger repairs.
Gutters and downspouts should move water away from the wall. Poor drainage can cause water to collect near the base of the masonry.
Plants and vines should not grow directly against the brick. They may trap moisture and hide damage. Keeping plants trimmed also makes it easier to inspect the wall.
Avoid harsh cleaning methods. Strong chemicals and high-pressure washing can damage brick faces and mortar joints. A mason can suggest a safer cleaning method when stains appear.
Frequently Asked Questions
Can new bricks be matched to older brickwork?
Yes. A skilled mason can compare the size, color, texture, and finish of the existing brick. Reclaimed brick may work well for older walls, while new brick can often be blended into newer masonry.
Will repaired brick areas be noticeable?
A repair may look slightly different at first because the new mortar needs time to cure. With a good brick match, proper mortar color, and careful joint work, the area should blend more naturally over time.
How long does professional brick repair last?
A quality repair can last for many years. Its lifespan depends on the materials, workmanship, weather, and whether the original cause of the damage was fixed.
Is tuckpointing enough, or do bricks sometimes need replacement?
Tuckpointing is useful when the mortar has failed but the bricks are still strong. Cracked, loose, or badly damaged bricks usually need replacement.
How can I prevent future brick damage?
Keep water away from the wall, repair small cracks early, maintain gutters, and inspect the masonry often. Good drainage and quick repairs can reduce future damage.